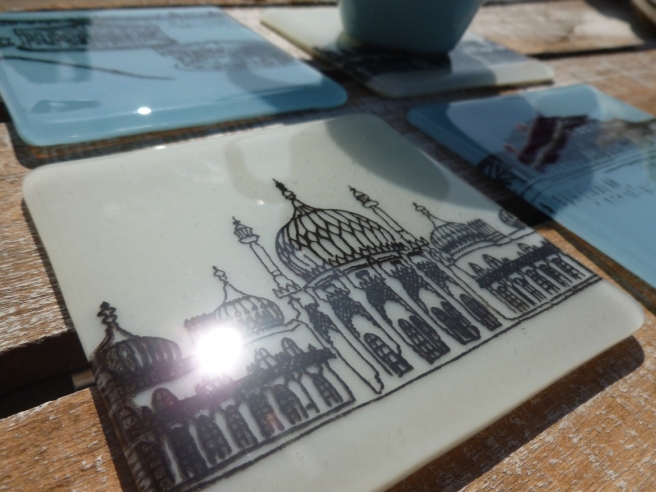
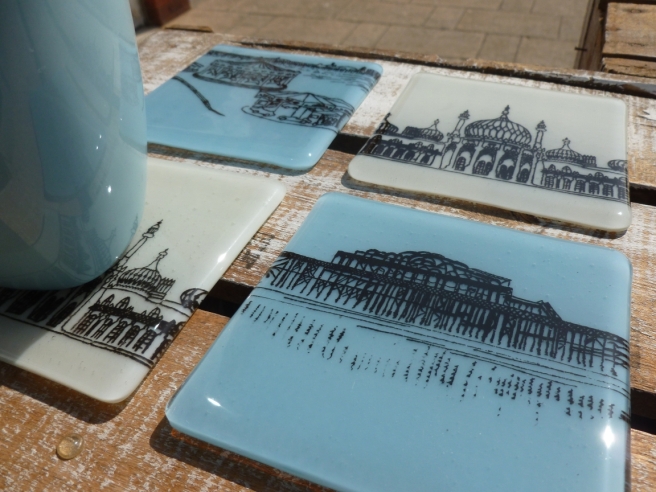
I’ve been asked by lots of visitors to Little Beach Boutique how I make the glass silk screen coasters that have been new to the shop this year, so I thought I would show you here, with the aid of a few photos, which I hope will help.
Using silk-screens is a great way to add a personal touch to your fused glass – you can create a silk-screens from your own drawings and have a completely unique range. All you need is a bit of inspiration – and living by the sea gives me plenty of that.
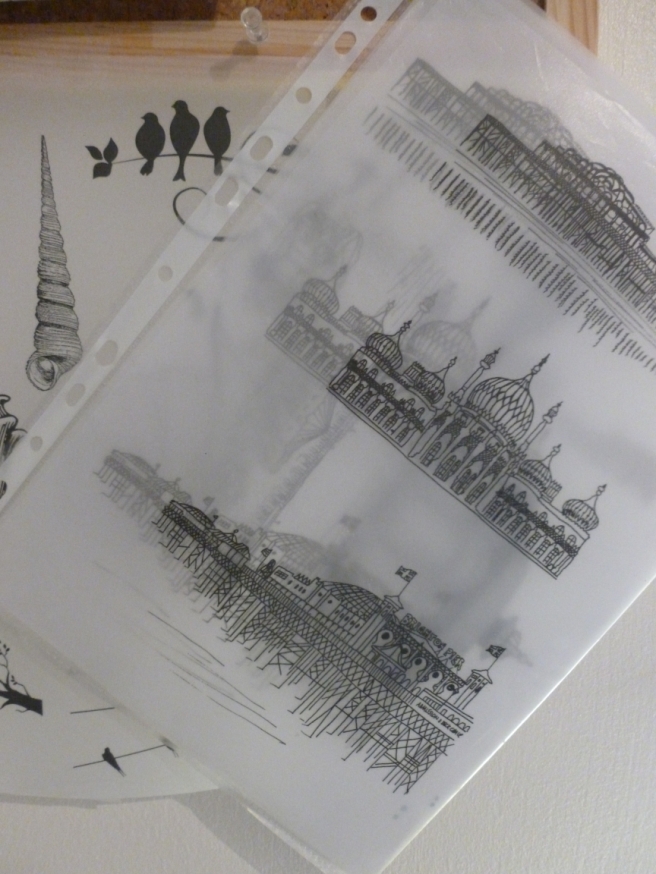
So, for my recent range of Brighton-inspired coasters, I have made silk-screens from my favourite landmarks, first taking images of Brighton Pier, the Royal Pavilion and the West Pier and drawing them onto acetate paper.
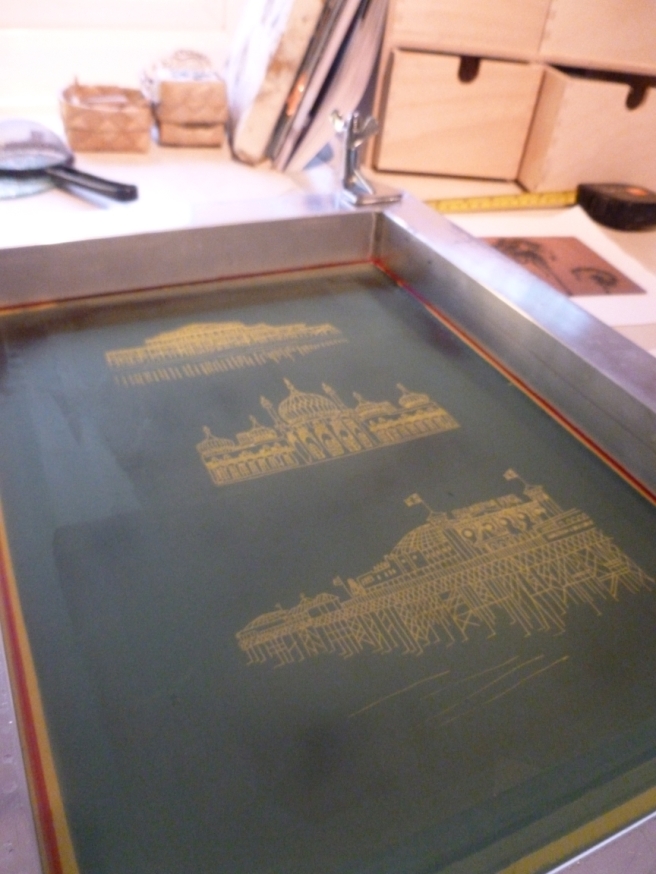
I bought some blank silk screens from a local supplier which I found online. To transfer the image onto the stretched silk, you need a dark-room to expose them, which, like most people, I don’t have. So, my hand-drawn images were sent with the screens to a local screen-printing workshop who do it for between £12-14. Much cheaper than building a dark room.
After a few days I had my silk-screens with the images that can be used again and again…
Ready for printing, the next step is to choose and cut the piece of glass you require, depending on what you are making, and lay it under the screen. I usually choose 2mm enamel glass for the base.
TOP TIP – smooth down the edges and corners of each piece of glass or it will slice the silk immediately! I have bought a grinder for this purpose – they are frequently used by stained-glass artists and can be bought via a stained-glass supplier online. It was a bit of an outgoing to start with (£80-£100) but definitely worth it, as it saved me the pain of destroying my silk-screens every time I went near them!
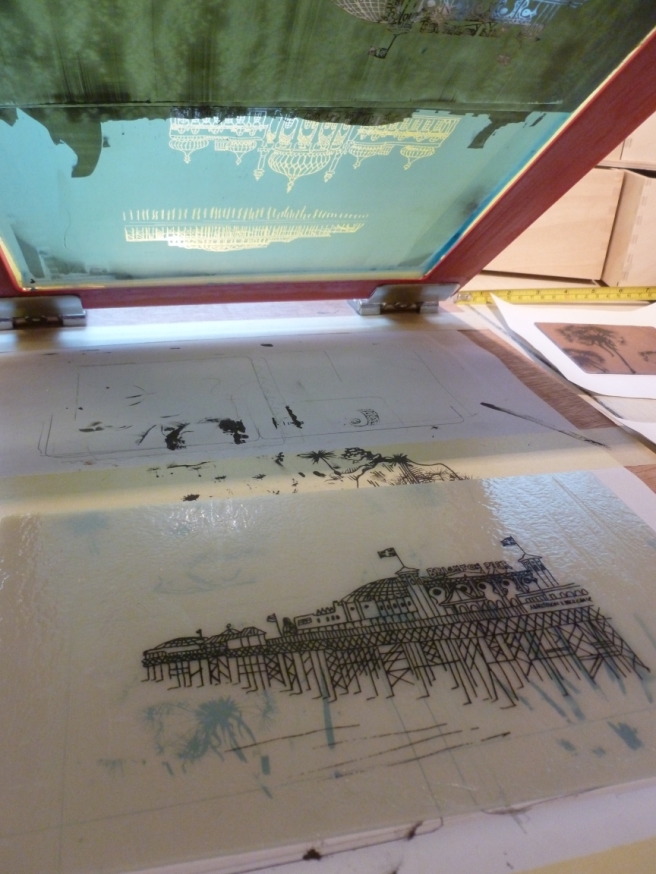
So – mix the enamel powder of your choice with an oil-based medium. It needs to be a treacle-consistency. Spoon it over the top of your image, before pressing over the full image with a ‘squeegy’, which is tool not dissimilar to what you use for wall-papering. This squeezes the enamel through the holes in the screen and transfers the image onto the glass below.
Repeat this process 2-3 times to ensure an even coverage, like this …
Make sure the whole of your image has been evenly transferred with enamel, lift the screen carefully…
Et voila!
…A piece of glass with Brighton Pier on it…
Let the enamel dry before dusting with a layer of fine crystal clear glass powder and cover with a layer of clear sheet glass. The layer of powder prevents bubbles from surfacing, which can happen frequently when fusing two pieces of glass. I have chosen to use a 2mm piece of ‘driftwood grey’ enamel glass under a 3mm piece of clear base tekta glass.
I fire my coasters to 773*C – that seems like enough for a lovely smooth edge and soft corners, while maintaining the shape.
Open the kiln, take them out and fire up the kettle as you now have some fabulous coasters!
So, your shopping list:
2mm opalescent glass
3mm tekta base glass
Fine Crystal Clear powder
Enamel
Oil Based mixing medium
A squeegy
A silk-screen
and some of your favourite images…
I hope this has been helpful. You can find the whole range of glass coasters and dishes here http://littlebeachboutique.com/collections/handmade-glass
Do contact me if you would like to know more, at littlebeachboutique@googlemail.com
Enjoy!
Suzanne x
—
Blogging from her gift shop, Little Beach Boutique, Suzanne writes about art, craft and making glass, running a small business and living by the sea.

